Step 7 – Building Our Stone Steps
(If you’d like to follow this project from the beginning you can start at Step 1 here)
Step 7 of Rear Garden Design Project.
July, 2002
We’ve read lots of books on building stone walls and steps so we are fully armed with knowledge on how to proceed with our latest step in the project. We dug below the soil line, filled and leveled the base with gravel poured onto landscape fabric. Great beginning.
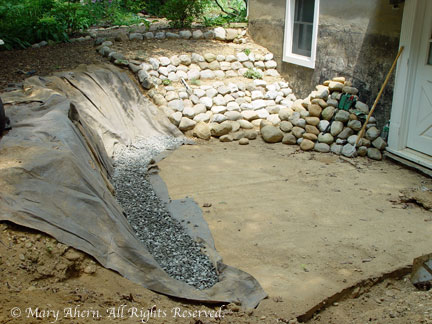
- We removed the temporary steps in preparation for the stone work. Note the pile of river rock piled against the back wall. We’ve begun dismantling the garden walls.

We found the largest stones from amidst the three tons of stone we had delivered and started to put down our first step. We measured the height and width of the area and determined the riser and run dimensions of the steps making sure that they would all equal. This is a safety issue.
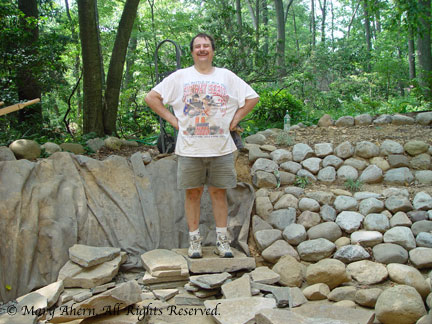
- My husband Dave quit stone work after we built the stairs and went back to computers.

At the end of our first day we were proud of having completed our first step. We used levels to make sure the stones were sloped correctly and concrete dust to stabilize each step.
So now that we had our first step the rest would be a cinch. Right?
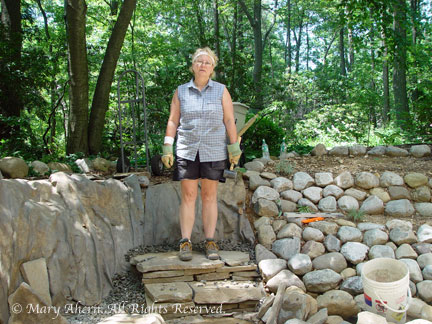
- No beauty pageant winner here. I’m far to exhausted to care. Stair 2 has been completed.

What we found is that we could only build one step a day. Sifting through the tons of stones, bringing them from the driveway using our handtruck. Shimmying them down to the base of the project and then lifting them into place. Absolutely exhausting work!
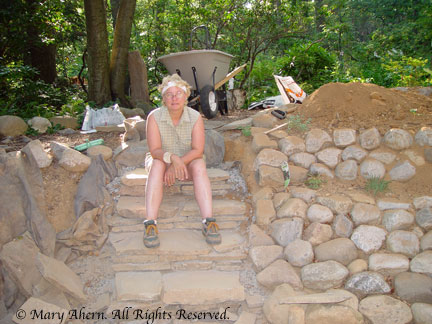
- I didn’t even commit a crime and I’ve been sentenced to hard labor on the rock pile. I should have been naughty.

At the end of each day we took photos since we couldn’t believe how hard this project was for us physically. Oh, so you mean, working with computers all day doesn’t make you fit enough to haul huge stones? Who would have thought?
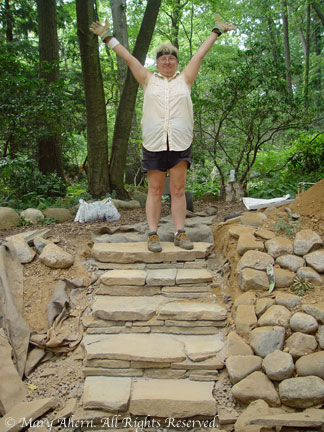
- The steps are done and I’ll never, ever build another set. Yippee!

And so the day finally comes and we’ve finished the steps. We are still proud of them and thankful that we’ll never have to ever do something like that again in our entire lives!
_______________________________________________________
Go to Step 8 – Building The Flat Stone Wall
_______________________________________________________


What seemed to be the most difficult part of the steps?? I really want to build some out of natural stone just style you have. Did you use mortar at all??
Josh – The most difficult part for us was moving the large stones. The most interesting was measuring the height (rise) and depth (run) of each step to keep the steps even, comfortable and safe for walking. To keep the stone from rocking we used crushed concrete between each stone and slid the stones back and forth to settle them down. These steps are dry set. We didn’t use any mortar. The project was very hard for us but it is so rewarding each time we walk up and down the stairs to feel how good and solid they feel. We chose the right rise and run combination for the site and the steps are very comfortable for walking in both day or night.