That first sunny warm day in February seduces me into my garden to begin my spring gardening tasks before the last snowstorms of winter reappear for a brief visit. It is a happy day for me each year when I reach for my Felco’s, put on my gardening gloves, pick up my rake and head out to reunite with my garden.
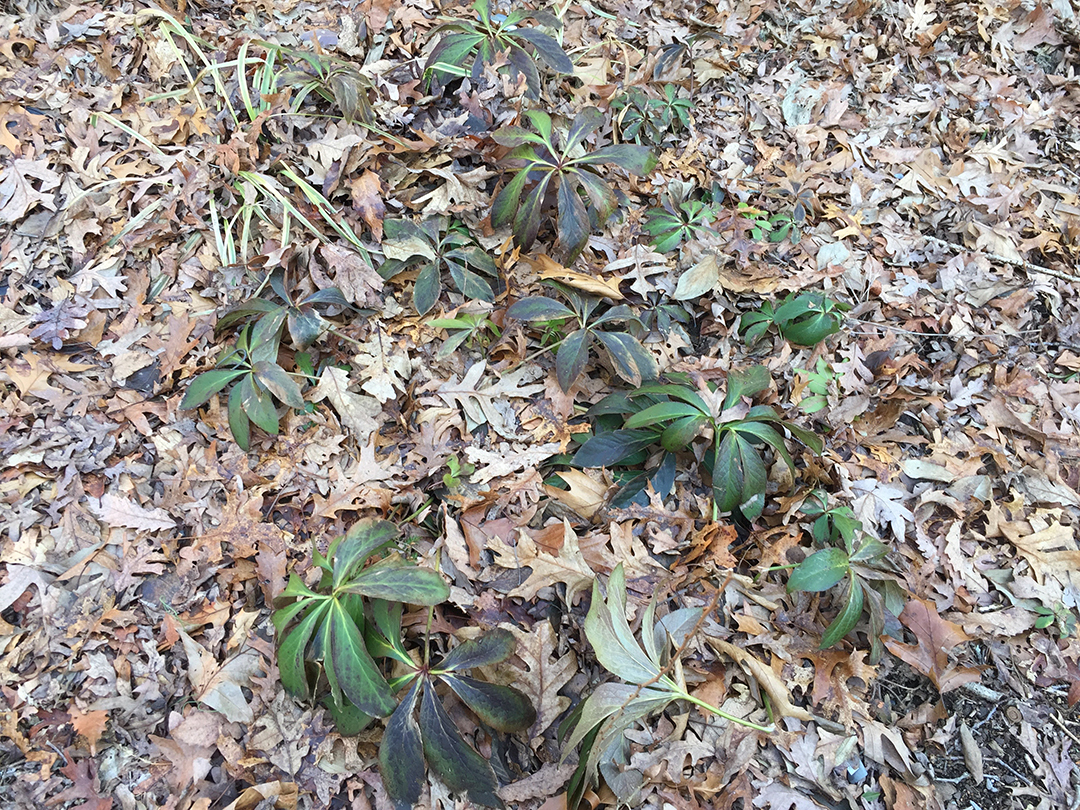
Hellebores remain evergreen and provide winter interest in my winter garden.
I always start by trimming the hellebores since the longer I wait the more complicated the job becomes. Those stalwart evergreen leaves that have decorated my garden all winter are by this time raggy, spotted, and brownish. Hiding beneath them are the brand new buds of the Hellebore flowers just waiting to burst through heralding spring. I love uncovering their light-deprived lime green growth and freeing them to bask in the sunshine.
Cutting the old leaves at this very early stage makes it less likely that I’ll damage the new growth. The old stems are long and thick at this time and easy to differentiate between the short almost stemless new growth. On the years that for one reason or another, I wasn’t quick enough to do this early trimming, the job took twice as long as I had to carefully select between the old and new growth leaves. Not easy to do without accidentally cutting off a few buds. Full disclosure: When I do cut or damage a plant in my garden I reflexively find myself apologizing to it out loud…sigh…
Not to worry about uncovering the hellebores when inevitably another bout of winter arrives since these are very hardy plants in my zone 6 garden. When the weather turns cold again for the next few weeks of winter I enjoy watching spring emerge through the windows in my home. Those hellebores burst through with so much optimism.
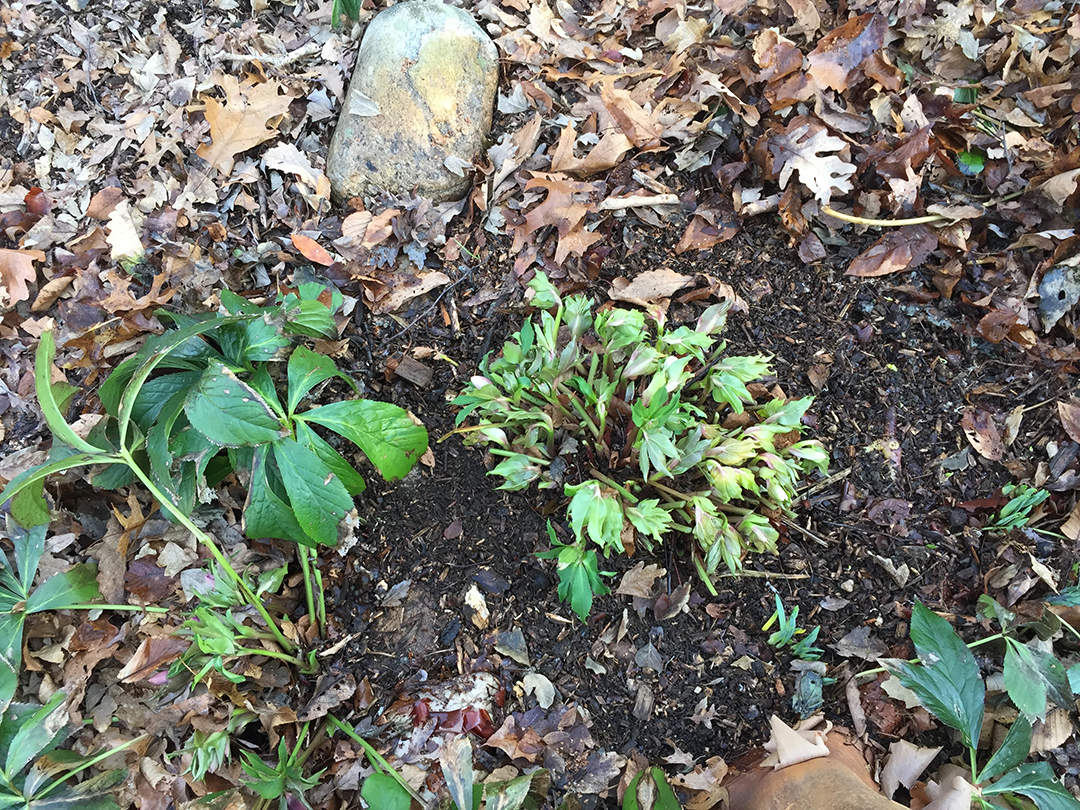
After trimming the old leaves, the emerging flowers of the Hellebore are a great glimpse of optimism for the upcoming spring season.