Step 8 – Building The Flat Stone Wall
(If you’d like to follow this project from the beginning you can start at Step 1 here)
Step 8 of Rear Garden Design Project.
July through November, 2002
We decided to trash my first idea of continuing the theme of the garden and using round river rock for the walls at the rear entrance to the guest room. What would happen each time it rained was that the soil would creep in from behind the stones and eventually clog up the passive drainage system.
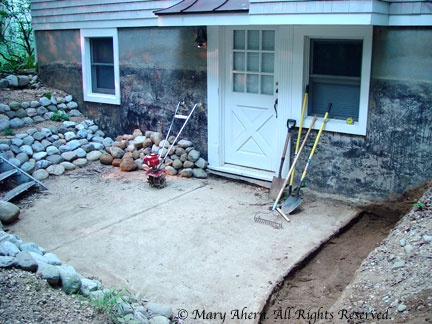
So I dismantled the walls, making a stack of rocks to the left of the door. Using my handy dandy Mantis tiller I excavated the base and leveled it smoothly.

- July 7, 2002 Clear the base and level it

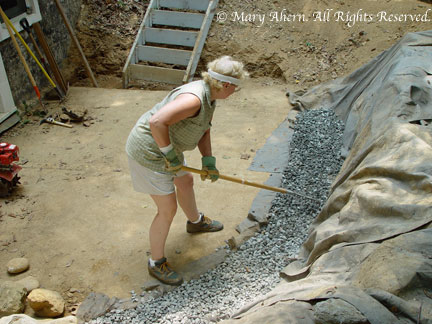
I used crushed bluestone to fill the base and give an even and strong working surface to the first base layer of stone.

- July 9, 2002 Spreading gravel is much harder then raking a lawn.

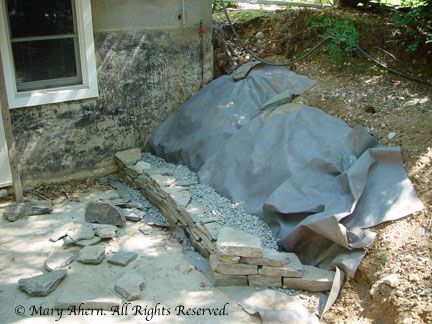
I put landscapers cloth down first to keep back the soil and put the first course of stone down. This one is so critical because it sets the tone for the entire wall. I used levels to make sure the row was plumb.

- September 8, 2002 Picking the right stones for the puzzle takes a long time

The work was so laborious that I could only work on one or two courses a day and then it would take me a day or two to recover. Thank goodness for my Chiropractor, Dr. Nadine O’Neill in Northport for keeping my aching body going.

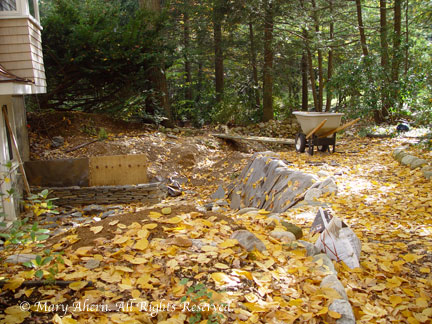
- November, 9, 2002 The leaves are beautiful, the unfinished walls are not

By the fall of 2002 I had to stop the project because I couldn’t fight the leaves everyday just to get started lifting stone. The project stood at a standstill for quite some time. Years in fact.
_______________________________________________________
Go to Step 9 – Bringing In The Pros
_______________________________________________________

