Step 15 – Building the Garden Bridge
(If you’d like to follow this project from the beginning you can start at Step 1 here)
Step 15 of Rear Garden Design Project.
So now that I measured the space, researched on the web, selected and took delivery of the bridge from GazeboCreations.com it is time to assemble the parts.

- First you assemble the struts on a flat surface

Fortunately my son Michael gave me a Mother’s Day present of one day of labor. First he put together the base on the flat surface of the driveway.

- Using a level to make sure the structure is balanced is critical to the entire process

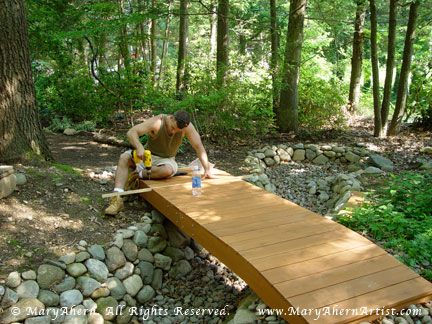
Then he put the struts across the dry stream bed and used a bubble level to make sure that it was even both front to back and side to side. This is a very critical stage to the entire project.

- All the holes are predrilled and make the assembly much easier to understand

Once the base is level and in place he attached the pre-drilled flooring in place. We used a thin nail as a spacer on each end of the boards to give some room for expansion as the boards swell with moisture. We attached the first board and then placed each successive board so we were sure of positioning before we attached them with screws.

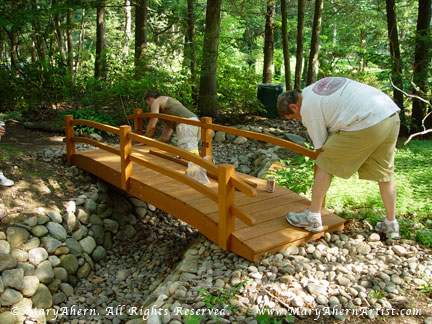
- It was useful to have two people to put the handrails together

By this time my husband Dave came home and couldn’t keep himself away from the project so he joined Michael in putting up the side rails. Each part of the bridge kit was clearly marked and pre-drilled for easy installation. Nevertheless, the assembly took hours to complete. The second time would have been much shorter.

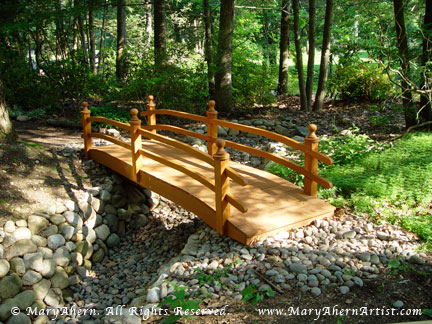
- I’m so happy to finally, after 9 years, have such a beautiful woodland setting

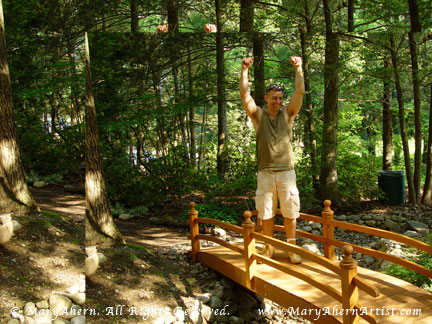
My son Michael was pleased to have the project over and next year I’ll probably get a pot of marigolds for Mother’s Day. It will be much easier for him.

- My son Michael is happy the project is over.

After 9 years of waiting I’m so very happy with the outcome of the project. The bridge is such a perfect complement to the natural feeling of the woodland walks I’ve designed.
_______________________________________________________
This is the end of this series.
If you’d like to see this project from the beginning you can start at Step 1 here
_______________________________________________________

